No skills needed… just hands! Whether you’re a complete beginner or perhaps just a little rusty and need to brush up on your skills- we have put together a collection of our favourite easy nail art designs to do at home. why don’t you give them a try?
The first thing you’ll need to do before you start any fancy design is apply a base coat to protect your nail. Our bedrock base coat is enriched with Vitamins A and E, Lemon Essential Oil, Coenzyme Q10 and Pro vitamin B5 to strengthen & condition your nails. It is also completely vegan, non-toxic and cruelty free so you can be confident knowing your polish is 5-free.
Now the basics are out of the way… on with the nail art!
Polka Dot Manicure
Polka dot manicures are easy and impressive. The best part? You don’t even need to invest in nail art tools to create this cute look. Any rounded tip will do, whether it’s the blunt end of a toothpick or the round end of a bobby pin. Bear in mind though, you’re more likely to achieve clean edged polka dots if you use a dotter tool- check out our very own 20 piece nail tool kit here, which includes different sized dotters for a more varied look!
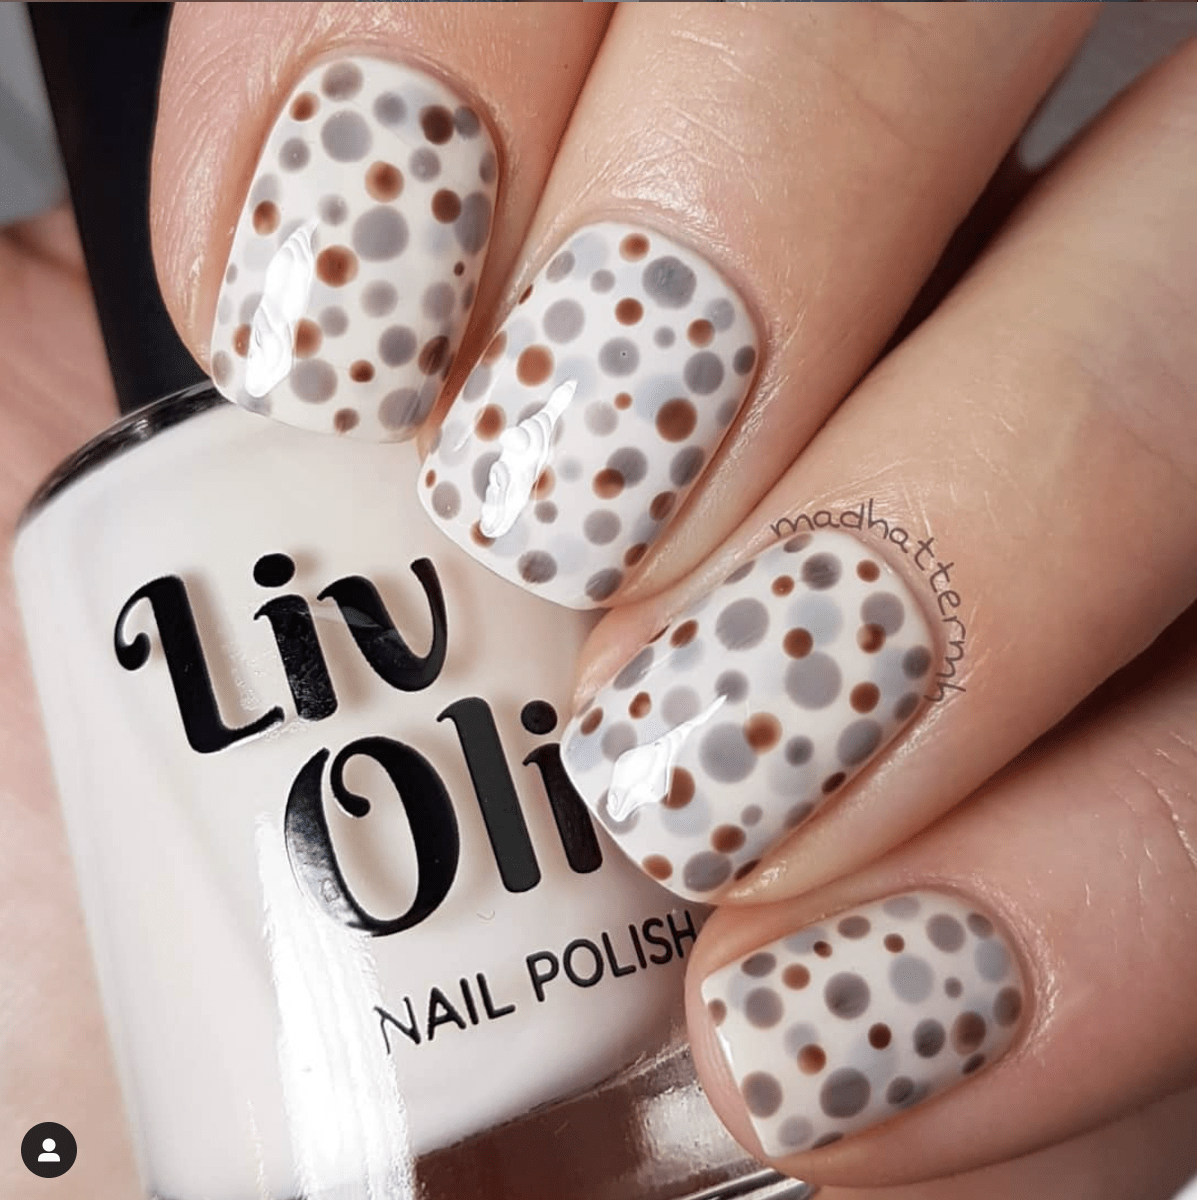
- apply your all important base coat and chosen base colour. Lighter colours work better as it really makes the polka dots pop! @Madhattermh, one of our lovely swatchers is wearing white horses in the above photo- a lovely subtle cream that will enhance any colour pairing.
- Grab your nail art dotting tool or bobby pin and carefully dip it into your chosen colour. Gently dab your nails to create polka dots. @Madhattermh cleverly used choc ice sandwiched between layers of white horses to create the illusion of different shades.
- When you’re done dotting, you guessed it.. let it dry again!
- Apply a topcoat to keep the polish sealed in and your brand new manicure looking fresher for longer.
French Manicure
Sometimes you just can’t beat the classics. The French manicure is a simple and elegant look that suits both daytime and evening wear. Using just two neutral colours, the white tip elongates the nail whilst the subtle pink mattifies your natural nail colour. Check out our very own French manicure set here.
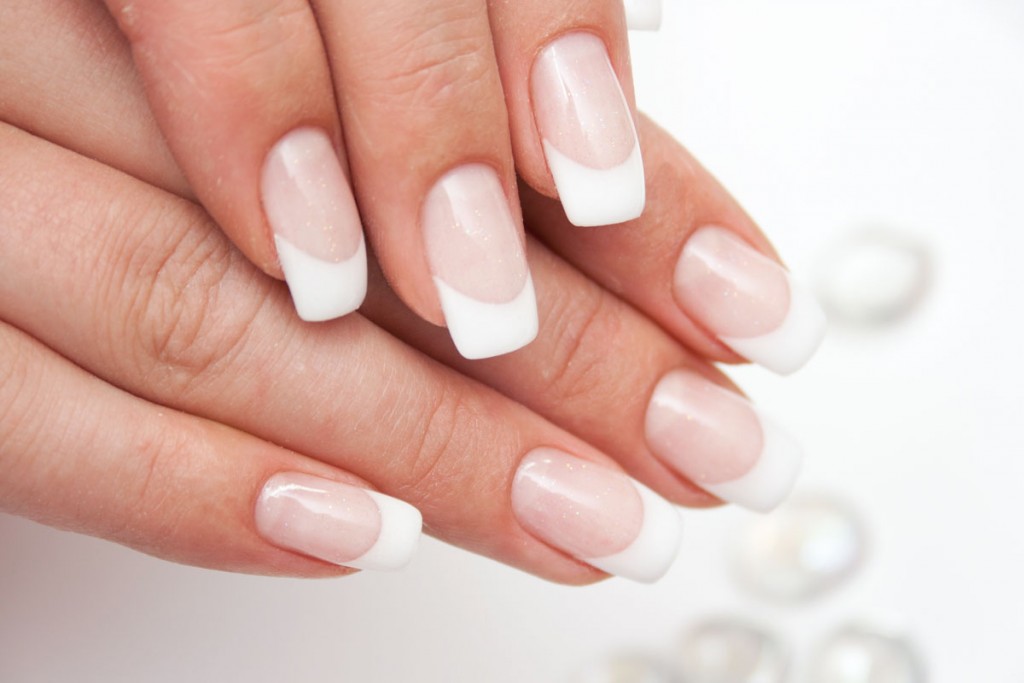
- To keep with the clean crisp look of the French manicure, it’s best to make sure your cuticles are looking their best. Gently push them back with a nail tool and apply some cuticle oil to avoid any dryness.
- Apply your base coat and pink base colour and leave to dry.
- To get the perfect white tip crescent, it’s best to use a guide or some painters tape, so it doesn’t stick to your polish and pull it off. If you’re feeling super confident and have a steady hand, you can freestyle! Make sure you stick to the natural white tip of your nail and use this as a guide.
- Leave to dry and finish with a topcoat. For a different take on the classic French manicure, why not try a matte topcoat? Our buff stuff matte topcoat is a super hard protective polish that is super fast drying, without dulling any of your colours.
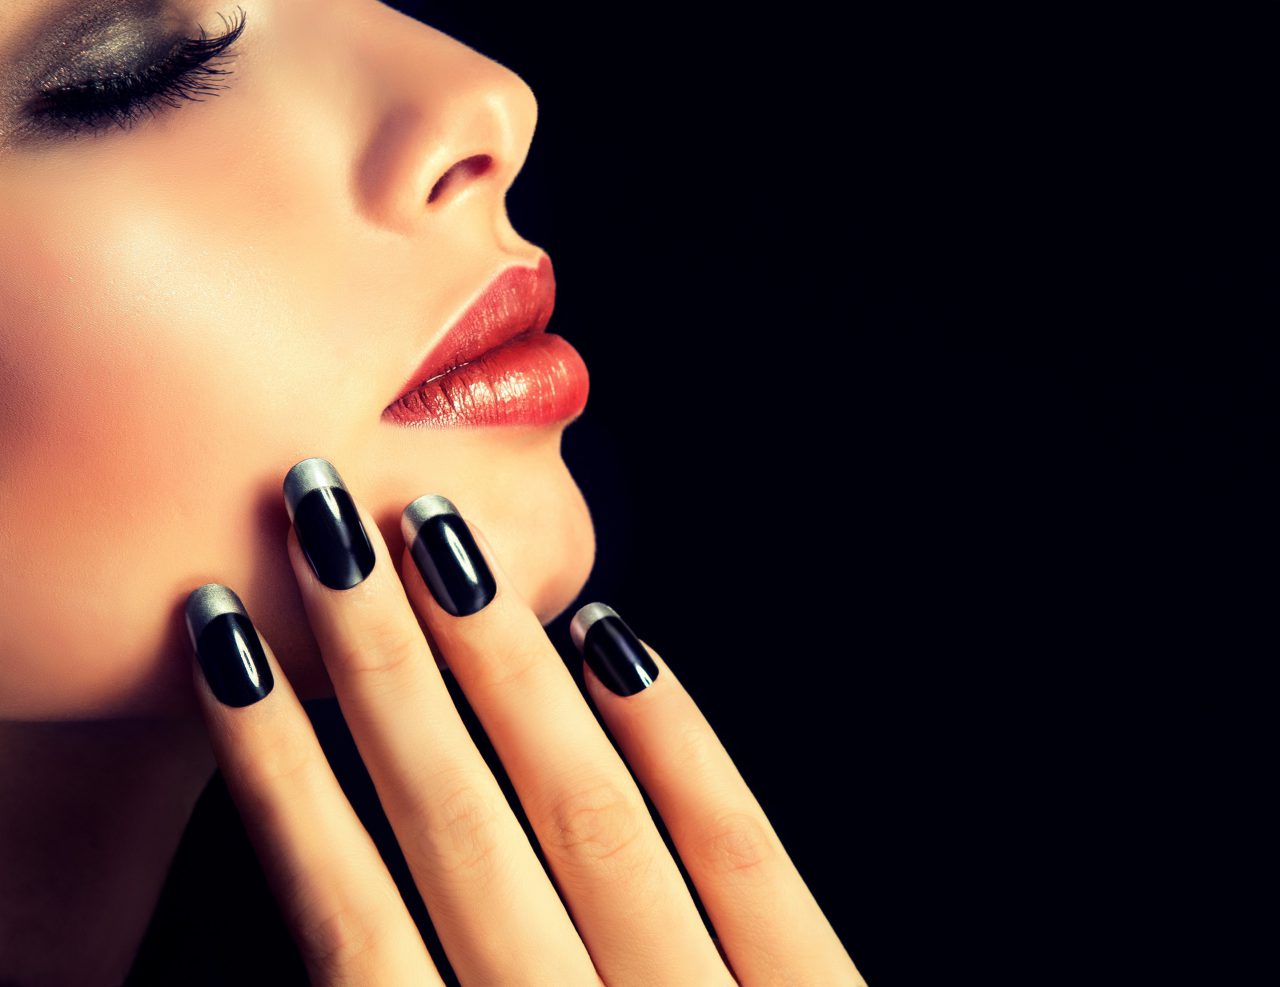
Metallic Tips
According to Hawkins Bazaar high shine metallics are a trend to look out for in spring summer 2019, so get ahead of the game and switch up your classic French with some metallic tips! Here at Livoliv we have a wide range of metallic nail polishes to choose from, all of which are vegan, non toxic and cruelty free. Why not check out back in black paired with glass slipper to recreate this striking look!
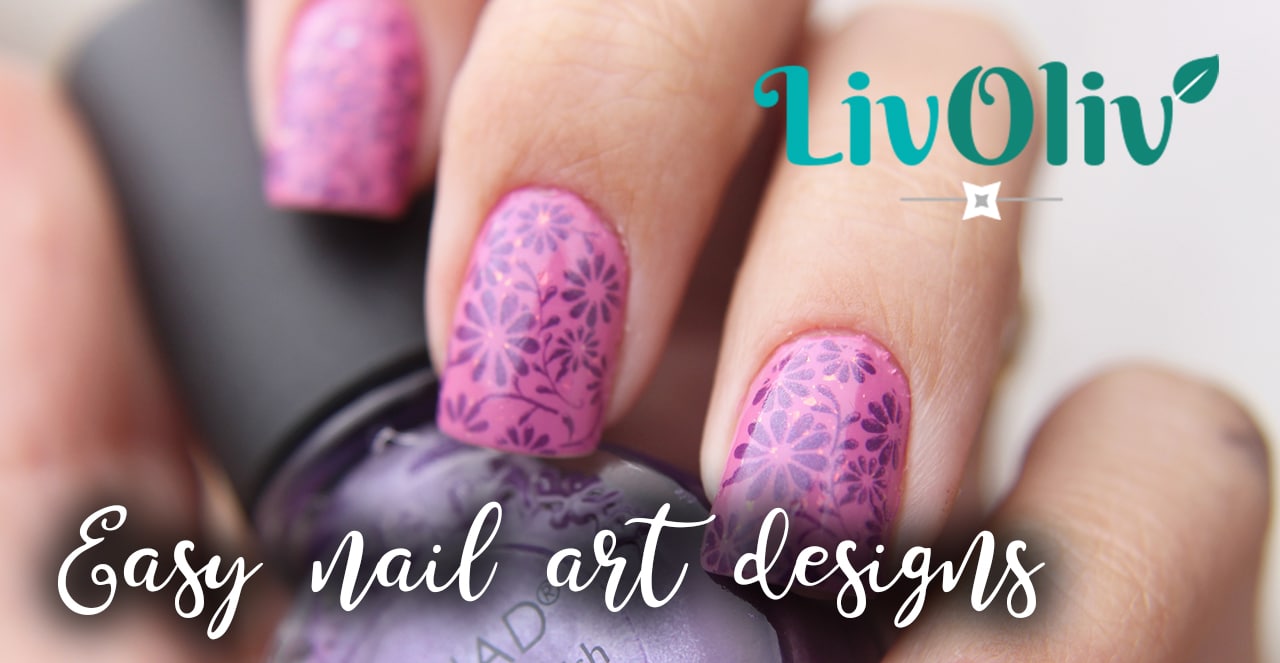
sTAMP IT!
Using a nail stamp is perhaps the best way to create professional looking nail art at home. There are a number of great nail stamp kits out there so have a look around to find some great seasonal designs you can use over and over again. Typically nail stamping kits include a range of ‘plates’ that have designs etched into them, a scraper tool and a jelly stamper.
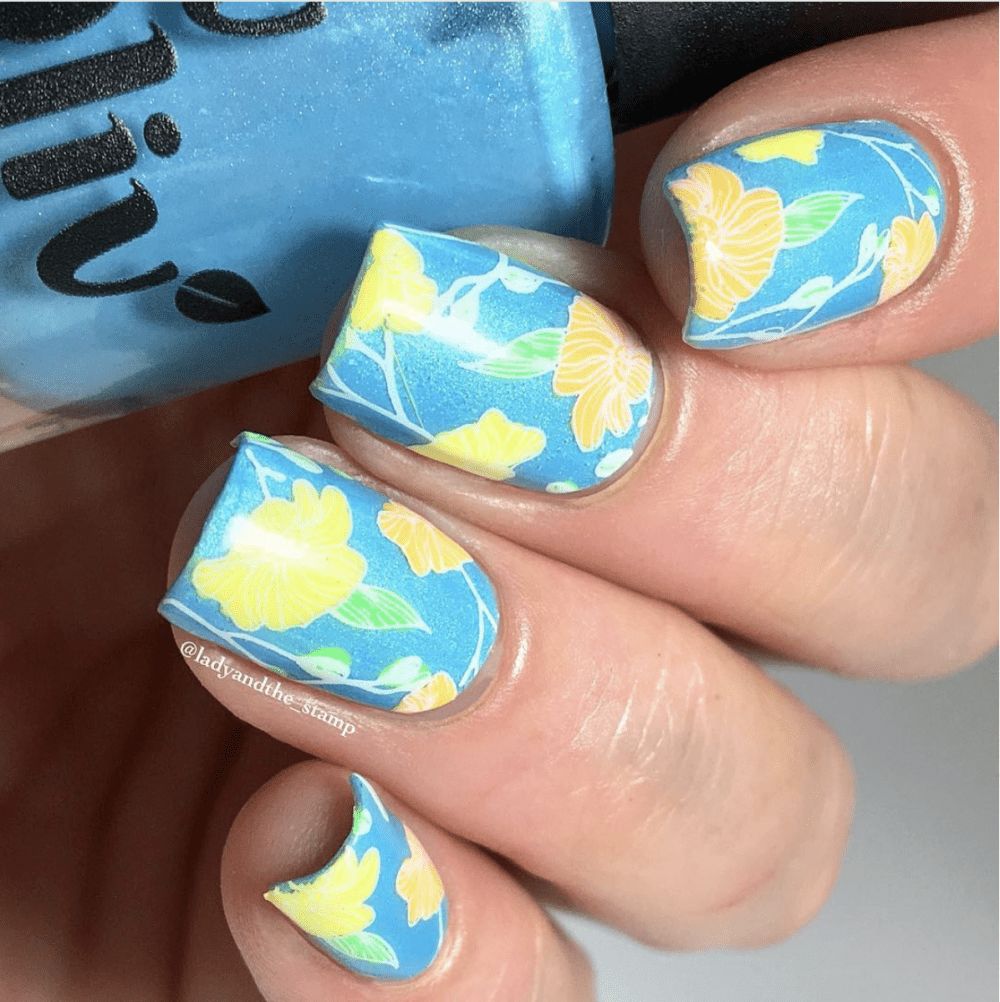
- As always, make sure you apply that base coat! To recreate this colourful spring time look by @ladyandthe_stamp you’ll need a vibrant blue as a base colour. Why not try our vegan, non toxic and cruelty free shade, fly my kite?
- Next you’ll need to grab your floral stamping plate and start to fill in the desired parts with colours of your choice.
- Once you’re done, scrape off any excess polish at a 45 degree angle using your nail scraper until you can clearly see the design left on the plate.
- Grab your jelly stamper and press it down on the plate to make sure it picks up all the polish. Your aim is to transfer the entire design to the top of the jelly stamper!
- Roll the jelly stamper over your nail, being careful not to move it too much- you don’t want to smudge your hard work.
- Finish with a hardwearing top coat to make sure your nails stay looking great.
a NOTE FROM US…
The possibilities with nail art really are endless and we love seeing what you come up with using our polishes! If you follow us on Facebook, please do send in any photos of your creations so we can share them on our page.
Don’t forget, in the next few weeks we will be releasing our very own 5-free nail polish remover! We are so excited to be adding more vegan, cruelty free and non toxic goodies to our ever growing range. Keep an eye on our social media for updates.
Liv happily….
The Livoliv team x